Owning an RV is like having a tiny home on wheels, providing the freedom to travel and explore at your own pace. However, with this freedom comes the responsibility of maintaining your RV, and one of the most critical aspects to keep in top shape is the flooring. A damaged floor can lead to numerous problems, including structural issues and discomfort. So, if you’ve noticed some wear and tear on your RV’s floor, it’s time for some “rv floor repair.” Let’s dive into how you can tackle this task and keep your RV in excellent condition.
Understanding RV Floor Damage
Before we get into the nitty-gritty of repair, it’s essential to understand what causes floor damage in RVs. There are several common culprits:
- Water Damage: Leaks from the roof, windows, or plumbing can seep into the flooring, causing it to rot and weaken.
- Wear and Tear: Over time, foot traffic and heavy furniture can wear down the floor, leading to scratches, dents, and even holes.
- Poor Installation: Sometimes, the flooring wasn’t installed correctly in the first place, leading to premature damage.
- Pests: In some unfortunate cases, rodents or insects can cause significant damage to the flooring materials.
Assessing the Damage
The first step in any repair process is to assess the extent of the damage. This step is crucial because it determines the scope of the repair needed.
- Visual Inspection: Look for obvious signs of damage such as discoloration, soft spots, or visible holes.
- Feel for Soft Spots: Walk around the floor and feel for any soft spots that might indicate water damage or weakened areas.
- Check Underneath: If possible, inspect the underside of the RV to see if there are any visible signs of damage or leaks.
Tools and Materials Needed for RV Floor Repair
Depending on the type and extent of the damage, you might need a variety of tools and materials. Here’s a list of common items you’ll need:
- Safety gear (gloves, goggles)
- Pry bar
- Screwdriver
- Hammer
- Circular saw or jigsaw
- Measuring tape
- Replacement plywood or flooring material
- Screws and nails
- Adhesive
- Waterproof sealant
- Sandpaper
- Paint or stain (if needed)
Step-by-Step Guide to RV Floor Repair
1. Remove Damaged Flooring
Start by removing the damaged portion of the flooring. Use a pry bar and screwdriver to lift and remove any flooring materials that are beyond repair. Be cautious and wear safety gear to avoid injury.
2. Inspect the Subfloor
Once the damaged flooring is removed, inspect the subfloor for any signs of damage. If the subfloor is also compromised, you’ll need to replace it as well. Use your measuring tape to cut the replacement plywood to the correct size.
3. Prepare the Area
Clean the area thoroughly, removing any debris and ensuring the surface is smooth and ready for the new flooring. Sand down any rough edges and apply a waterproof sealant to protect against future water damage.
4. Install the New Flooring
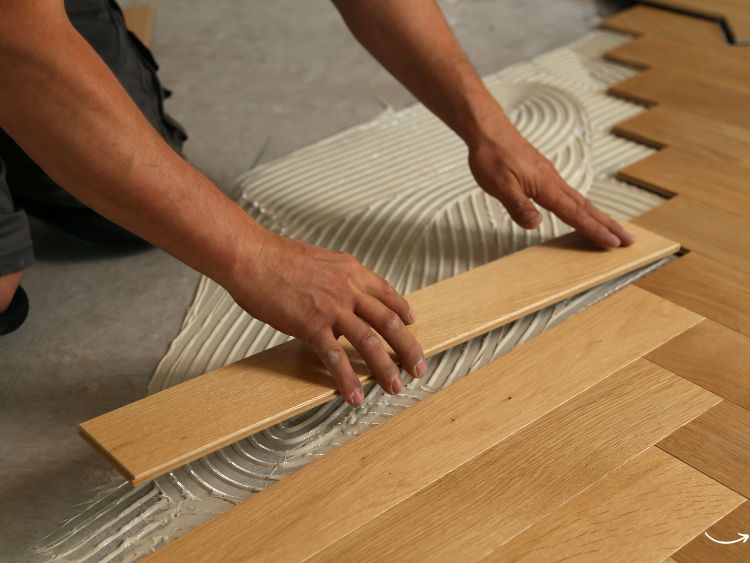
Place the new plywood or flooring material in the prepared area. Use adhesive to secure it in place, and then screw or nail it down for added stability. Make sure everything is level and fits snugly.
5. Finishing Touches
Once the new flooring is in place, sand down any rough spots and apply paint or stain if desired. This step not only makes the repair look seamless but also adds an extra layer of protection to the floor.
Common Mistakes to Avoid
Repairing an RV floor isn’t rocket science, but there are some common mistakes that can turn a simple repair into a bigger problem. Here are a few to watch out for:
- Ignoring the Source of Damage: Always address the root cause of the damage before making repairs. Otherwise, you might find yourself fixing the same issue repeatedly.
- Using Incorrect Materials: Ensure you’re using materials suitable for RV flooring. Regular home flooring might not hold up to the unique demands of an RV.
- Skimping on Sealant: Waterproof sealant is your best friend when it comes to preventing future water damage. Don’t skimp on it.
FAQs About RV Floor Repair
Q: How often should I inspect my RV floor? A: It’s a good idea to inspect your RV floor at least twice a year, especially before and after the travel season.
Q: Can I use regular home flooring materials in my RV? A: While you can use some home flooring materials, it’s best to choose ones specifically designed for RVs due to their unique requirements.
Q: How can I prevent water damage to my RV floor? A: Regularly check for leaks, keep the roof and windows well-sealed, and promptly address any plumbing issues to prevent water damage.
Q: Is it better to repair or replace the entire floor? A: It depends on the extent of the damage. Minor issues can be repaired, but if a large portion of the floor is damaged, replacement might be more cost-effective in the long run.
Conclusion
Repairing your RV floor might seem like a daunting task, but with the right tools and a bit of know-how, you can do it yourself and save a significant amount of money. Remember to assess the damage thoroughly, use the correct materials, and take your time to ensure the repair is done right. By keeping your RV floor in good condition, you’ll ensure many more miles of happy and safe travels.
Authoritative Links
For more detailed guides and resources on RV floor repair, check out the following websites:
Remember, maintaining your RV is key to enjoying your travels without the hassle of unexpected repairs. Happy camping!
By following these guidelines and tips, you’ll have a well-maintained RV floor that can withstand the rigors of the road. Whether you’re a weekend warrior or a full-time RVer, keeping your floor in top shape is essential for your comfort and safety.


